Melt & Pour Soap for Beginners
Making your own soap can be a rewarding and creative hobby. Melt and pour soap is an excellent starting point for beginners because it involves pre-made soap bases that are easy to work with and...
Candle making is a creative and rewarding hobby that allows you to craft personalized candles for decoration, ambiance, or gifts. Whether you’re new to crafting or looking to explore a new skill, here’s a comprehensive guide to get you started on your candle making journey.
Wax: Choose a candle wax suitable for beginners, such as soy wax, paraffin wax, or beeswax. Each type has its characteristics (e.g., soy wax is natural and burns cleanly, paraffin is affordable and widely available).
Wicks: Pre-tabbed candle wicks are convenient for beginners. Ensure they are appropriate for the diameter and type of wax you’re using.
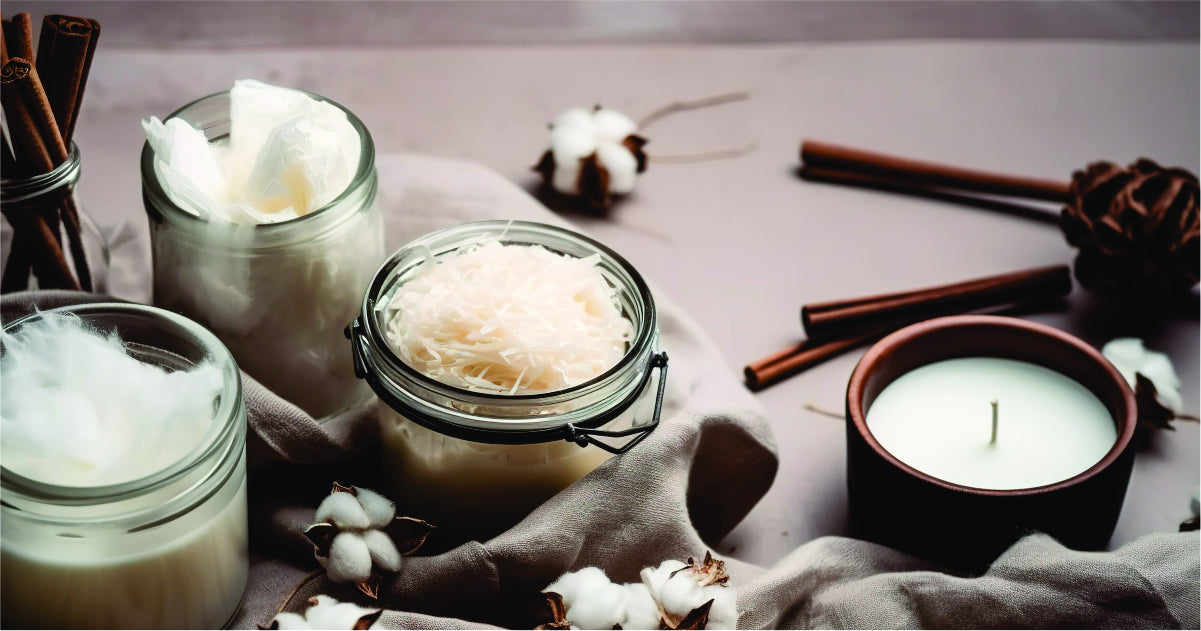
Container or Mold: Select containers (e.g., jars, tins) or molds (e.g., silicone, metal) for your candles. Make sure they are heat-resistant and suitable for candle making.
Double Boiler or Microwave: For melting the wax. A double boiler provides more controlled heating, while a microwave can be quicker.
Pouring Pitcher or Heat-Safe Container: To melt and pour the wax into molds or containers.
Fragrance Oils or Essential Oils (optional): For scenting your candles. Ensure they are suitable for candle making and safe for use in wax.
Colorants (optional): Candle dyes or crayons for coloring your candles. Ensure they are specifically designed for candle wax.
Thermometer: To monitor the temperature of the wax.
Stirring Utensil: A spoon or stir stick dedicated to candle making.
Heat Source: Stovetop or microwave for melting wax.
Protective Gear: Optional but recommended, such as heat-resistant gloves and apron.
Workspace: Cover your workspace with newspaper or a disposable tablecloth to protect surfaces.
If using containers, clean and dry them thoroughly. Secure wicks to the bottom center of containers using wick stickers or hot glue.
If using molds, spray them with mold release or a light coating of cooking spray to aid in releasing the candles later.
Measure the appropriate amount of wax for your containers or molds. Use a kitchen scale for accuracy.
Melt the wax using a double boiler or microwave:
Monitor the temperature of the wax with a thermometer. Different waxes have different melting points, so refer to manufacturer guidelines for optimal melting temperatures.
Color: Add candle dye or crayons a little at a time until you achieve the desired color. Stir gently but thoroughly to evenly distribute the color throughout the wax.
Scent: Add fragrance or essential oils to the melted wax, following recommended guidelines for safe usage. Stir gently to ensure even distribution of the scent.
For container candles, ensure the wick remains centered as the wax cools. You can use wick holders or pencils placed across the container to keep the wick straight.
For molded candles, insert the wick through the pre-made hole in the mold. Secure the top of the wick with a wick holder or tape to keep it centered.
Temperature Control: Monitor wax temperature to avoid overheating, which can affect scent throw and candle appearance.
Scent Throw: Experiment with different fragrance oils to achieve the desired scent throw (the strength of the fragrance when the candle is burning).
Safety: Always follow safety guidelines when working with hot wax and open flames. Keep children and pets away from your workspace.
Experiment and Have Fun: Candle making is a creative process. Don’t hesitate to experiment with colors, scents, and designs to create unique candles.
Candle making is a delightful hobby that allows you to create customized candles for personal use or gifts. With the right materials, a bit of patience, and attention to safety, you can craft beautiful candles that enhance any space with warmth and ambiance. Start your candle making journey today and enjoy the art of creating candles tailored to your style and preferences.

