The Importance Of Skin pH Balance
Maintaining the pH balance of your skin is crucial for its overall health and appearance. The skin's pH, which stands for "potential of hydrogen," refers to the acidity or alkalinity level of the skin's surface....

This site has limited support for your browser. We recommend switching to Edge, Chrome, Safari, or Firefox.
Sorry, looks like we don't have enough of this product.
By Agent Pits
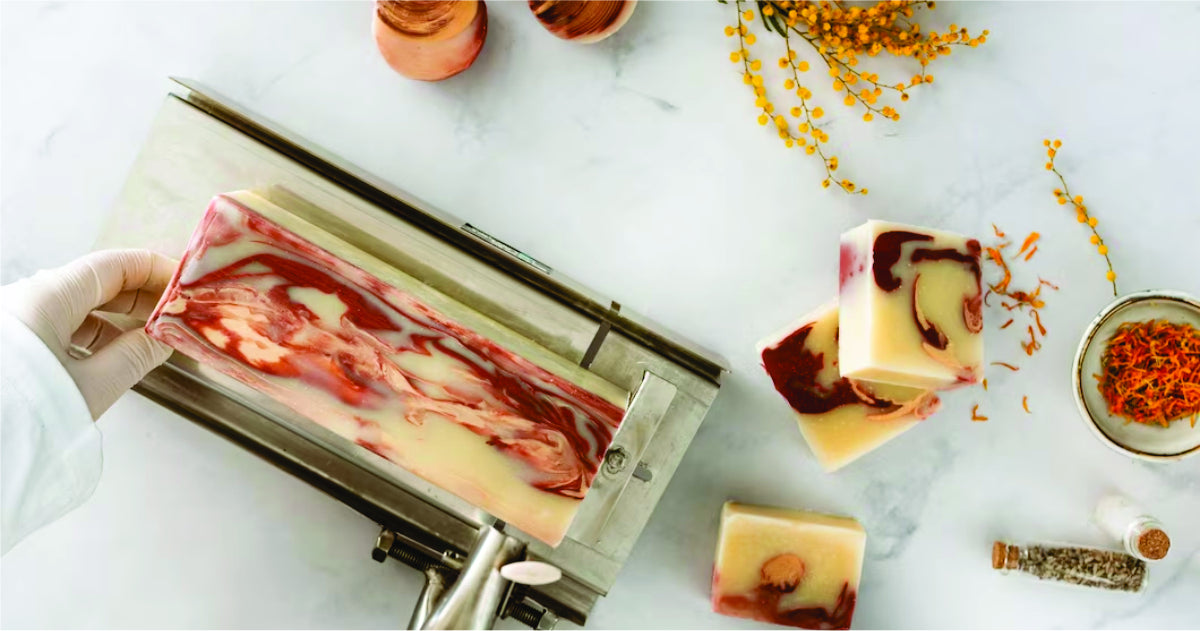
Making your own soap can be a rewarding and creative hobby. Melt and pour soap is an excellent starting point for beginners because it involves pre-made soap bases that are easy to work with and require minimal equipment. This guide will take you through the basics of making melt and pour soap, including materials, steps, and tips for customization.
Soap Base: Choose a melt and pour soap base, such as glycerin or shea butter base. These are readily available and come in various formulations (clear, opaque, with additives like goat's milk or honey).
Cutting Tool: A knife or soap cutter to cut the soap base into smaller pieces for melting.
Microwave or Double Boiler: For melting the soap base. A microwave is convenient and quick, while a double boiler provides more control over temperature.
Heat-Safe Container: A microwave-safe or heat-safe glass measuring cup or bowl for melting the soap base.
Stirring Utensil: A spoon or spatula dedicated to soap making.
Colorants: Soap-safe colorants like liquid soap dyes, mica powders, or natural colorants such as turmeric or spirulina.
Fragrance or Essential Oils: Optional for scenting your soap. Ensure they are skin-safe and suitable for soap making.
Additives: Optional additives such as exfoliants (oatmeal, coffee grounds), dried herbs, or botanicals (lavender buds, rose petals).
Molds: Silicone molds work best for melt and pour soap due to their flexibility and ease of releasing the soap.
Rubbing Alcohol (Isopropyl Alcohol): To prevent bubbles from forming on the surface of the soap.
Cutting: Slice the soap base into small chunks or cubes using a knife or soap cutter. This helps the soap melt evenly.
Melting Options:
Color: Add soap-safe colorants (liquid dyes, mica powders, natural colorants) a few drops at a time until desired color is achieved. Stir gently to combine.
Scent: Add fragrance or essential oils, about 1 teaspoon per pound of soap base. Stir gently to distribute evenly.
Exfoliants: Stir in additives like oatmeal, coffee grounds, or finely ground pumice for exfoliating properties.
Botanicals: Sprinkle dried herbs or petals into the soap molds for decorative effect.
Once fully cooled and hardened, gently pop the soap out of the molds.
Store the finished soap in a cool, dry place or wrap in plastic wrap to prevent glycerin dew (moisture beads on the surface).
Temperature Control: Avoid overheating the soap base, as it can scorch or develop a rubbery texture.
Layering and Embedding: Experiment with pouring multiple layers or embedding small objects (like toys or herbs) in the soap for creative designs.
Customization: Adjust color, scent, and additives to create personalized soap blends that suit your preferences.
Safety: Work in a well-ventilated area and handle hot soap and equipment carefully to prevent burns.
Melt and pour soap making is a fun and accessible way to explore the art of soap crafting without the complexities of handling lye. With a few basic materials and creative ideas, you can create beautiful, customized soaps that make great gifts or additions to your personal skincare routine. Enjoy the process of experimenting with colors, scents, and textures as you craft your own unique bars of soap!
2 comments
I’m new at this and found it soooo helpful


Thanx for all the information